How to add a two-step order form to your funnel
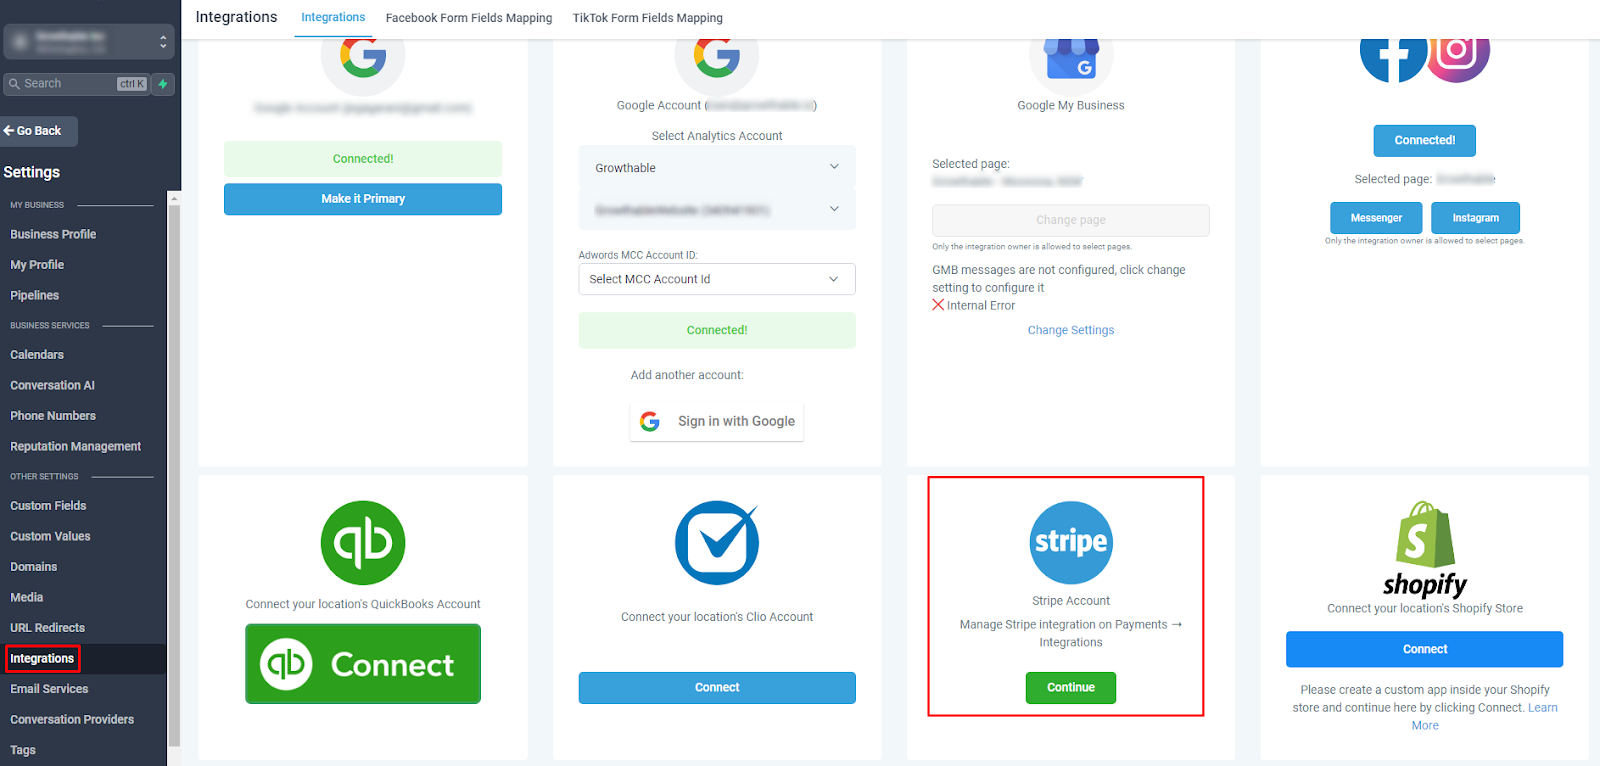
To begin, navigate to the settings menu and locate the integrations option. Within the integrations section, you must connect your Stripe account by obtaining the publishable and secret keys from Stripe's platform. Once you have these keys, please copy and paste them into the designated field, and click the Save button. By doing so, your account will successfully be integrated with Stripe.
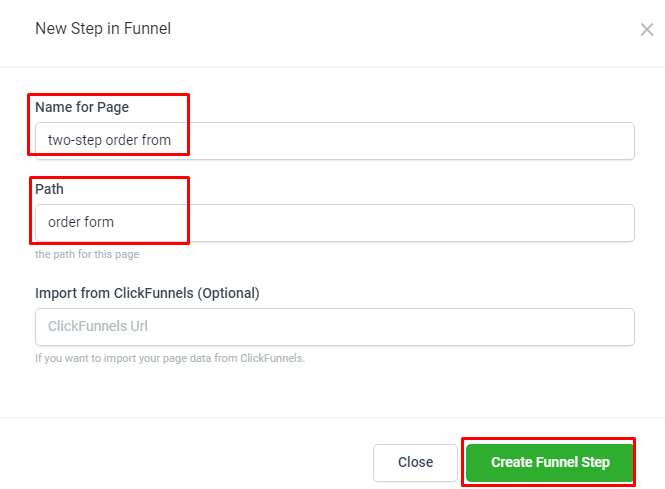
The next destination is the funnels section in the sites menu. Once there, we'll create a new funnel by clicking the designated button in the top right corner. Enter the Funnel
Name and click Create.


Now, we will add a step by selecting the add new step option. This step will be called the two-step order form; we will assign it the path name order form.

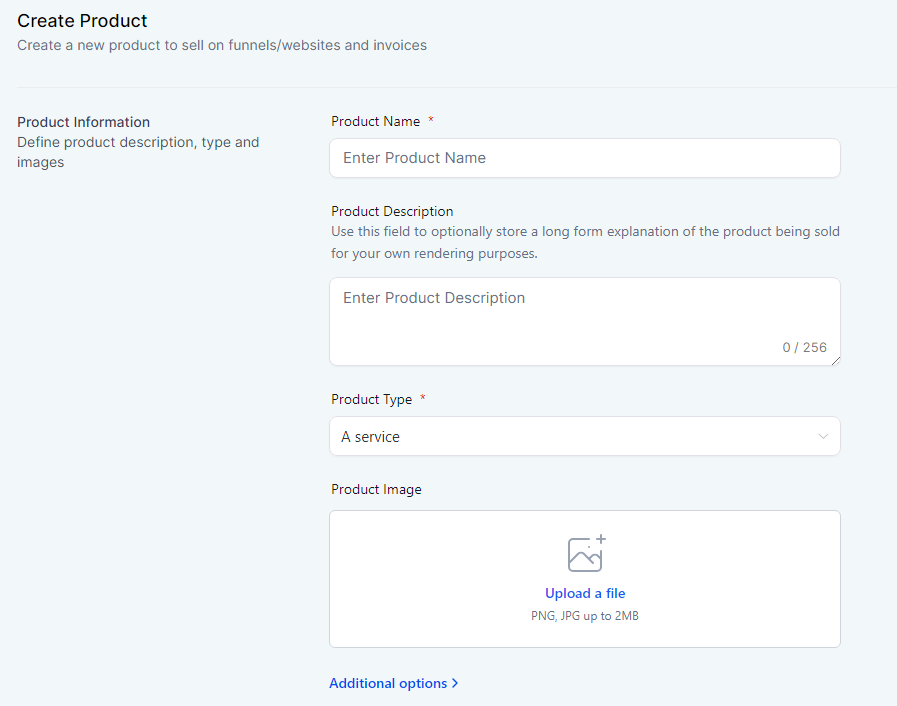
To create a new product, navigate to the Payments section and click "Products." Look for the + Create Product button. Click on it to proceed with the product creation process.
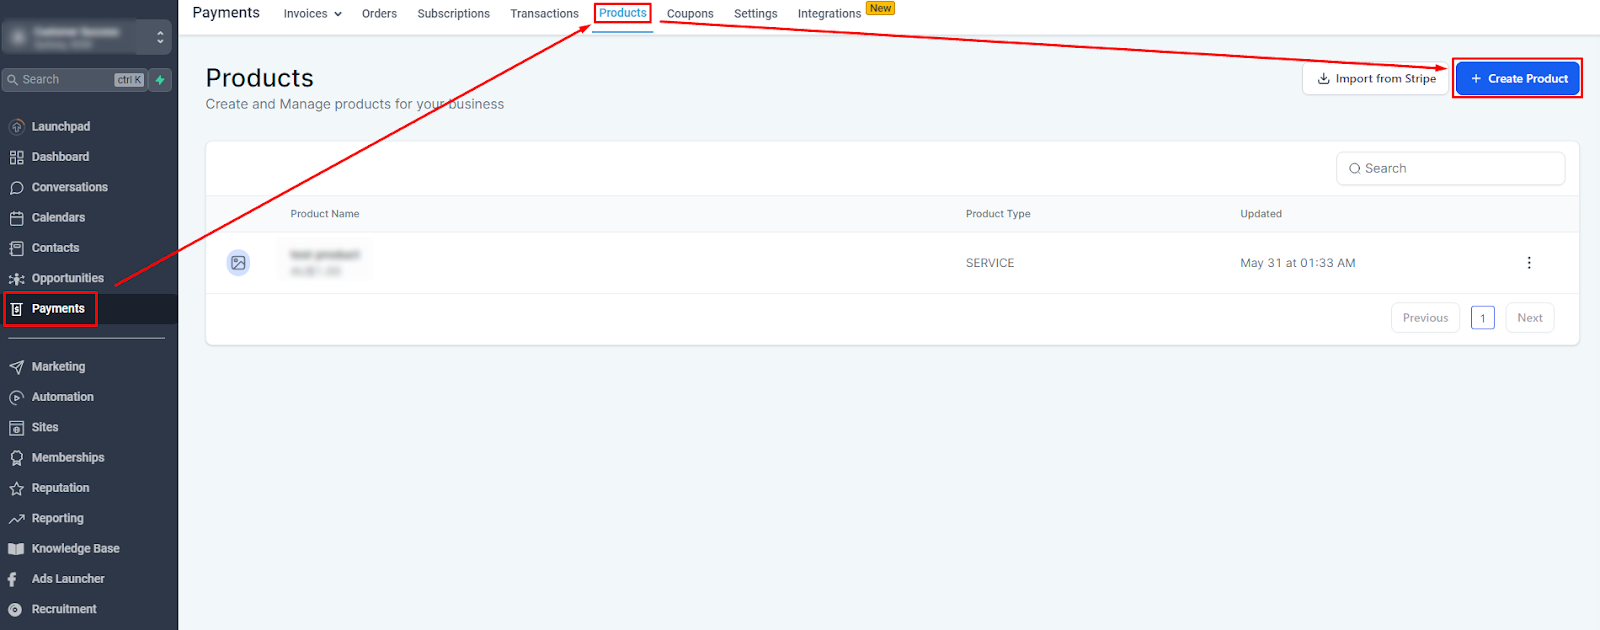
When filling out the necessary information for product information and pricing, consider the nature of the product you intend to sell. Select either a One-time or Recurring payment. Choose the appropriate payment structure that aligns with your product's selling model. Click Create.

To begin editing this step, locate the Products tab at the page's top right corner. Click on the + Add Product button to proceed. Fill in all the required information for the product, considering the details you provided in the preceding steps. Once done, select the product you have created from the options available.


Return to the Overview section and click on the Edit option.

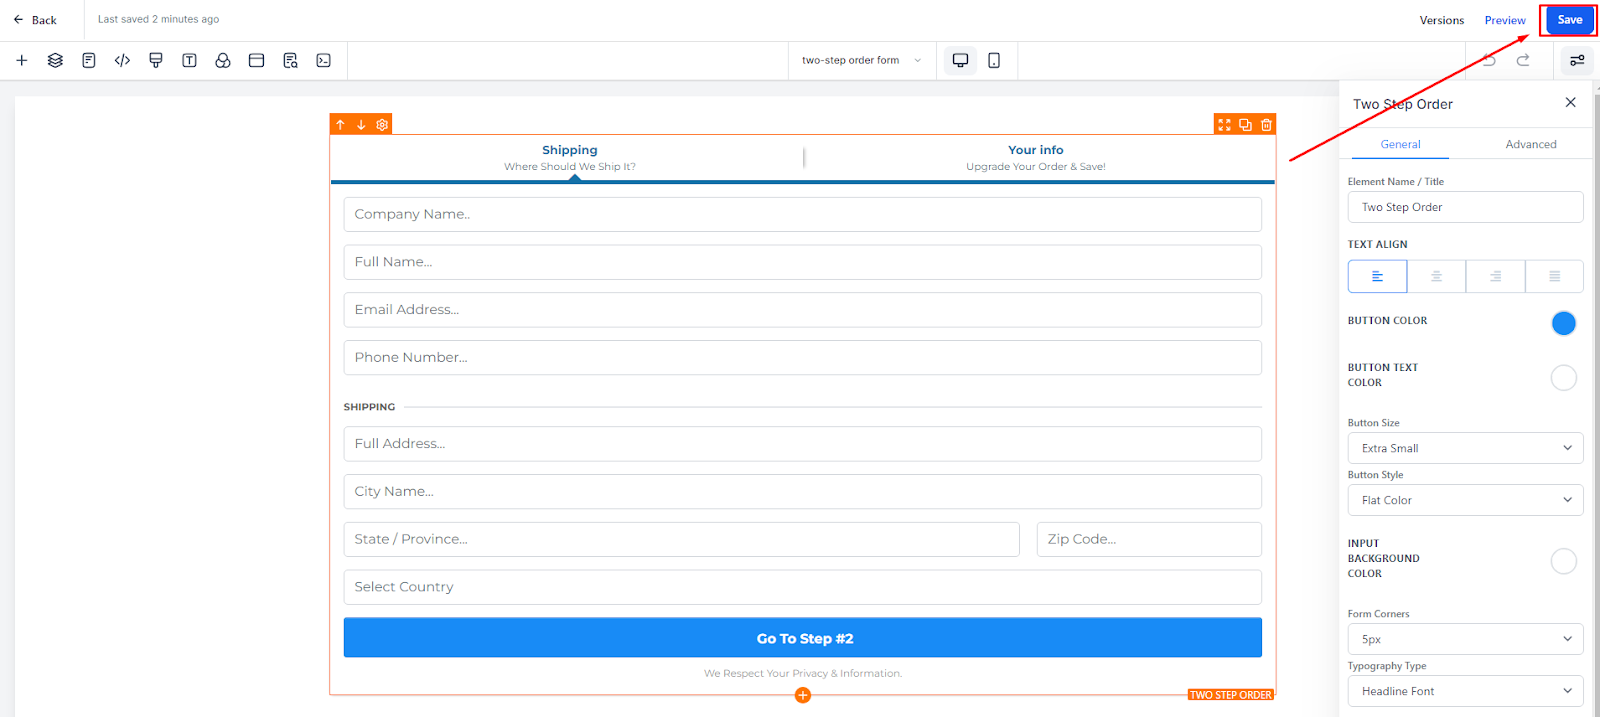
Once you have added the desired Sections and Rows, add the Element Section, you must scroll down the page to locate the "2 Step Order" button and choose that.

Upon clicking on it, this is how it will be displayed or appear.
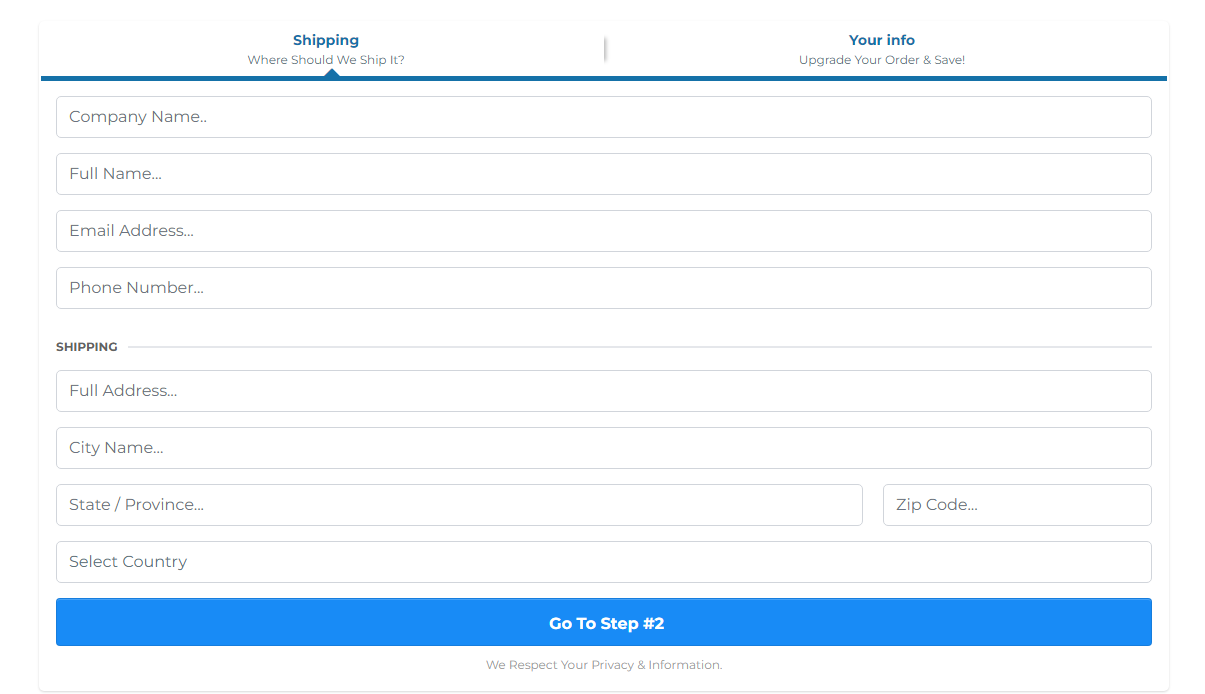
When you click on the form, the settings will appear on the right-hand side. You can choose between the General and Advanced settings, allowing you to make modifications according to your preferences in those sections.

After editing the desired settings and information, Click Save.